I've worked with hundreds of dog owners who've struggled when they first introduced an automatic feeder. The good news? Learning how to transition your dog to an automatic feeder doesn't have to be stressful—for you or your dog. With the right approach, most dogs adapt within a week, and you'll both enjoy the benefits of consistent meal times.
This guide walks you through a proven five-step process that works for dogs of all ages and temperaments. Whether you've got an anxious rescue who guards their food bowl or a food-motivated Lab who inhales everything in sight, these steps will help your dog accept their new feeding setup without creating behavioral issues.

Time commitment: 5-10 days for full transition
Difficulty level: Beginner-friendly
Works for: Adult dogs, seniors, and puppies over 8 weeks (adjust portions accordingly)
What You'll Need
- An automatic feeder suitable for your dog's size and dietary needs (check best automatic dog feeders if you haven't purchased one yet)
- Your dog's regular food (don't change food and equipment simultaneously)
- High-value training treats like small pieces of cooked chicken, cheese, or commercial training treats
- Your dog's current food bowl (you'll need both during transition)
- A quiet feeding location away from high-traffic areas
- Patience and consistency (this matters more than any physical tool)
Step 1: Introduce the Feeder as a Neutral Object
Before that feeder dispenses a single kibble, let your dog investigate it while it's completely inactive. Here's what usually works: place the unplugged feeder in your dog's normal feeding area for 2-3 days. Let them sniff it, walk around it, and basically ignore it once the novelty wears off.
Some dogs—especially anxious ones or puppies—might be suspicious of this new plastic contraption in their space. That's completely normal. Don't force interaction. If your dog shows interest, toss a treat near the feeder. If they back away or bark, just let it sit there doing nothing.
I've seen owners rush this step because they're excited to use their new gadget. Don't. This foundation prevents fear reactions later. A dog who's comfortable with the feeder's presence will adapt much faster when it starts making noise and moving.
For nervous dogs: Place the feeder several feet away from the current bowl initially, then move it a foot closer each day until it's in the final position.
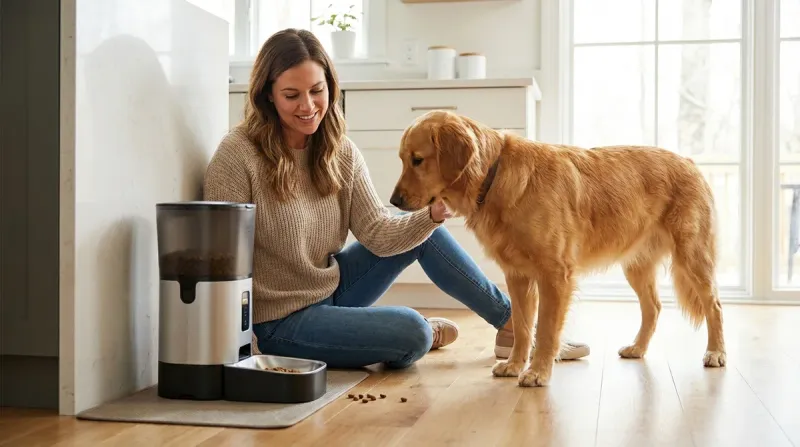
Step 2: Create Positive Associations With Manual Feeding
Now we're going to make that feeder the best thing in your dog's world—but we're still in complete control. For 2-3 days, hand-feed your dog their meals from the feeder's bowl while the feeder is turned off.
Here's exactly how to do it: place your dog's full meal portion into the feeder's bowl. Sit next to the feeder. Call your dog over and let them eat directly from the bowl while you stay nearby. Touch the feeder occasionally. Tap it lightly. Let your dog see that this object is connected to good things and you're comfortable with it.
This step matters more than most people realize. You're teaching your dog that the feeder bowl itself is a food source, not just the bowl they've always used. You're also desensitizing them to movement and sounds around the feeder before it starts operating on its own.
For food-motivated dogs: This step usually goes fast. They don't care where dinner comes from.
For picky eaters: You might need to mix in a small amount of wet food or training treats to make the feeder bowl more appealing than their old bowl.
Step 3: Introduce the Mechanical Sounds and Movement
This is where most dogs show their first real reaction. The sounds and movements of an automatic feeder can startle a dog who's not prepared. We're going to introduce these elements gradually so your dog stays confident.
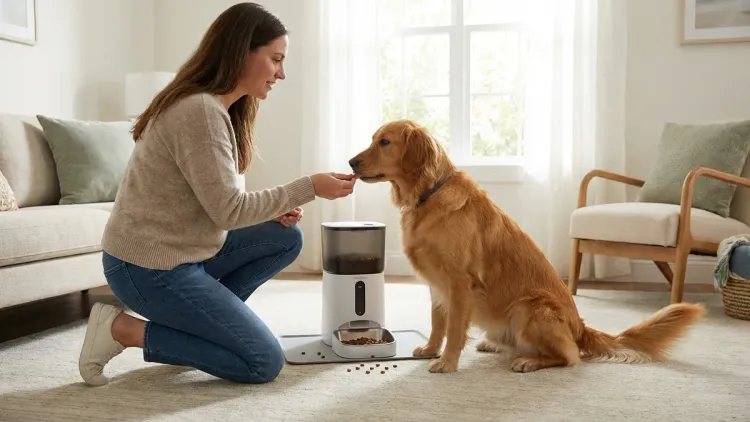
Start by programming the feeder to dispense a small amount of food—maybe a quarter of their normal meal. Stay in the room when it activates. Most feeders make a mechanical whirring sound, and the food dropping creates noise too. Your dog might jump back, bark, or just stare at it. All normal reactions.
When the food drops, encourage your dog to approach and eat. Use an excited, happy voice: "Look what happened! Go check it out!" If they're hesitant, toss a high-value treat near the bowl. Reward them for any movement toward the feeder.
Run 2-3 test dispensings per day for two days, always supervising. Between tests, continue hand-feeding from the bowl like in Step 2. You're teaching your dog that the noise means food is coming—it's not a threat.
Common reaction I see: The dog rushes to the feeder the instant they hear the sound. That's exactly what you want. Food motivation trumps fear for most dogs once they understand the pattern.
Step 4: Switch to Scheduled Automatic Feedings
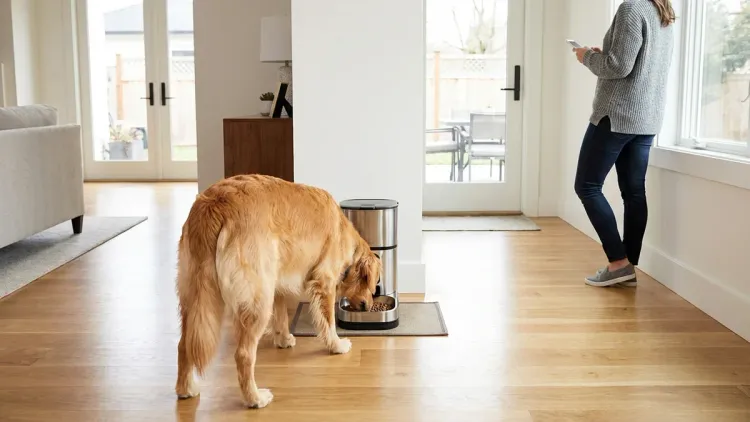
You're ready for the real transition. Program the feeder for your dog's normal meal times, but stay close by for the first 3-4 automatic feedings. You don't need to hover, but be in the next room where you can hear and intervene if needed.
Most dogs adapt immediately at this point because you've done the groundwork. They hear the familiar sound, they know food is coming, and they eat normally. Some dogs might wait for your permission at first, especially if you've worked on impulse control training. That's fine—release them with your normal "okay" cue if that's your routine.
Keep the feeder in the same spot for consistency. Dogs thrive on predictable routines, and changing the location now will just confuse the association you've built. Also, don't hover over your dog while they eat. Part of the benefit of an automatic feeder is giving your dog independence at mealtimes.
For multi-dog households: You'll need to manage this carefully. Check out guidance on automatic feeders for multiple dogs to prevent resource guarding. Each dog may need their own feeder in separate spaces during the transition.
Step 5: Phase Out Your Presence Completely
The final step is teaching your dog that meals happen whether you're home or not. This usually takes 3-4 days. Start by leaving the house for short periods around feeding time. Run a quick errand. Take a walk. Give your dog time to figure out that the feeder works without you there.
Check that your dog ate their meal when you return. Most will. If they didn't touch it, they might still need your presence as a safety cue. That's okay—take another day or two of supervised feedings before trying again.
Once your dog consistently eats from the automatic feeder on schedule without you in the room, you're done. You've successfully completed the transition. Your dog now understands that the feeder is their new normal source of meals, and they're confident with the entire process.
Don't forget: Regular cleaning of the feeder's bowl and mechanism prevents bacteria growth and keeps meals appealing. Most feeders have dishwasher-safe bowls, but check your manufacturer's guidelines. The American Kennel Club recommends daily bowl washing to prevent bacterial contamination.
Time away considerations: While automatic feeders provide convenience, there are safety limits. Read up on how long you can leave a dog with an automatic feeder before planning extended trips.
Pro Tips & Common Mistakes
Don't change food during the transition. I've seen this mistake a hundred times. Owners get a new feeder and decide it's also time to try that premium salmon kibble. Now you don't know if your dog is reacting to the equipment or the food. Change one variable at a time.
Maintain your feeding schedule precisely. Automatic feeders work best when they mirror your existing routine. If you currently feed at 7 AM and 6 PM, program those exact times. Consistency prevents anxiety.
Watch for bowl guarding behaviors. Some dogs develop resource guarding with automatic feeders because the food appears "magically" without human control. If your dog starts growling at the feeder or showing stiff body language when it activates, pause the transition and work on basic resource-sharing exercises first.
Consider feeder height for large and giant breeds. Elevated feeding can reduce neck strain for dogs over 50 pounds and may help prevent bloat in deep-chested breeds like Great Danes. Look for feeders with adjustable heights or add a stable platform.
Test the backup power. Most feeders run on batteries or have battery backup. Make sure it actually works before you rely on it. I've worked with frustrated owners who came home to a hungry dog because the feeder's batteries died.
Start with adult dogs before puppies. If you have both, the established adult dog will model appropriate behavior for the puppy. Puppies learn by watching, and seeing an older dog eat calmly from the feeder accelerates acceptance.
Frequently Asked Questions
How long does it take to transition a dog to an automatic feeder?
Most dogs fully transition to an automatic feeder within 5-10 days using a gradual introduction method that includes familiarization, positive associations, and supervised automatic feedings before leaving the dog alone with the device.
Will my dog still bond with me if I use an automatic feeder?
Yes, your dog will absolutely still bond with you when using an automatic feeder because the bond is built through training, play, walks, and quality time together—not just hand-feeding meals at specific times.
Can puppies use automatic feeders or should I wait until they're adults?
Puppies over 8 weeks old can use automatic feeders, but you'll need to adjust portion sizes for their multiple daily meals (3-4 feedings for young puppies) and supervise closely to ensure they're eating appropriately and not playing with the equipment.
What if my dog refuses to eat from the automatic feeder?
If your dog refuses to eat from the automatic feeder after a gradual transition, go back two steps in the process—return to hand-feeding from the feeder's bowl while it's off, add high-value food toppers to increase motivation, and slow down the progression timeline to build confidence.
Summary
Learning how to transition your dog to an automatic feeder really comes down to patience and building positive associations. Take your time with each step, watch your dog's body language, and don't rush the process. Most dogs adapt beautifully once they understand that the mechanical sounds mean dinner is ready.
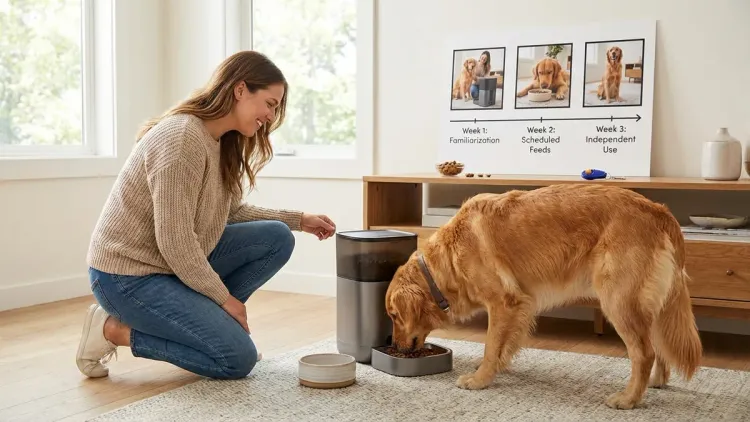
The five steps—neutral introduction, manual feeding, mechanical exposure, supervised automation, and independent feeding—work because they respect how dogs actually learn. You're not forcing acceptance. You're creating an environment where your dog chooses to trust the new system.
Remember that every dog is an individual. Your food-obsessed Beagle might adapt in three days. Your anxious rescue might need two full weeks. Both timelines are perfectly normal. Trust the process, stay consistent, and you'll both enjoy the benefits of reliable, scheduled feeding.